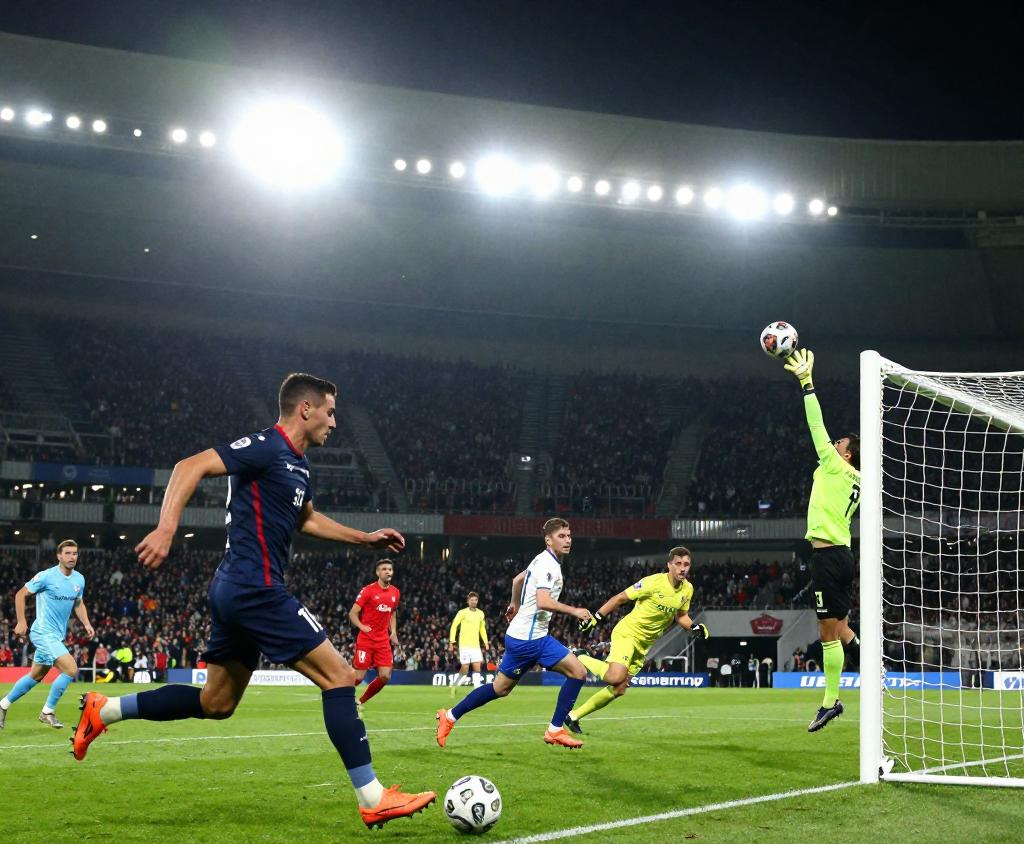
Ask players what they hate most about poor stadium lighting, and glare will appear near the top of the list. Unlike insufficient brightness, glare does not simply reduce visibility — it actively interferes with visual perception, reaction time, and comfort.
This article explains how glare is created in football stadium lighting, why it becomes worse in LED retrofits when poorly designed, and how professional projects control glare through optics, mounting geometry, aiming discipline, and verification. We also highlight the most common mistakes seen in real-world projects.
1. What Is Glare in Stadium Lighting?
Glare occurs when a bright light source is visible within a player’s or spectator’s field of view at an intensity that causes discomfort or reduces contrast perception.
1.1 Two Types of Glare
- Discomfort glare: causes annoyance or eye fatigue.
- Disability glare: reduces the ability to see objects clearly, especially against bright backgrounds.
In football, disability glare is particularly dangerous because players must frequently look upward to track the ball.
2. Why LED Stadium Lighting Can Increase Glare
LED technology has many advantages, but it also introduces new glare risks if not engineered correctly.
- LEDs are small, high-intensity point sources.
- Poor optics expose raw LED chips at high angles.
- Retrofits often reuse pole positions not designed for LED distributions.
This is why early LED retrofits sometimes received negative feedback — not because LED was unsuitable, but because optics and aiming were not adapted to LED characteristics.
3. Glare Viewpoints in Football Stadiums
Professional glare control evaluates glare from multiple viewpoints:
- Goalkeeper positions.
- Midfield player sightlines.
- Spectator seating (especially lower tiers).
- Camera positions.
- Surrounding residential or traffic areas.
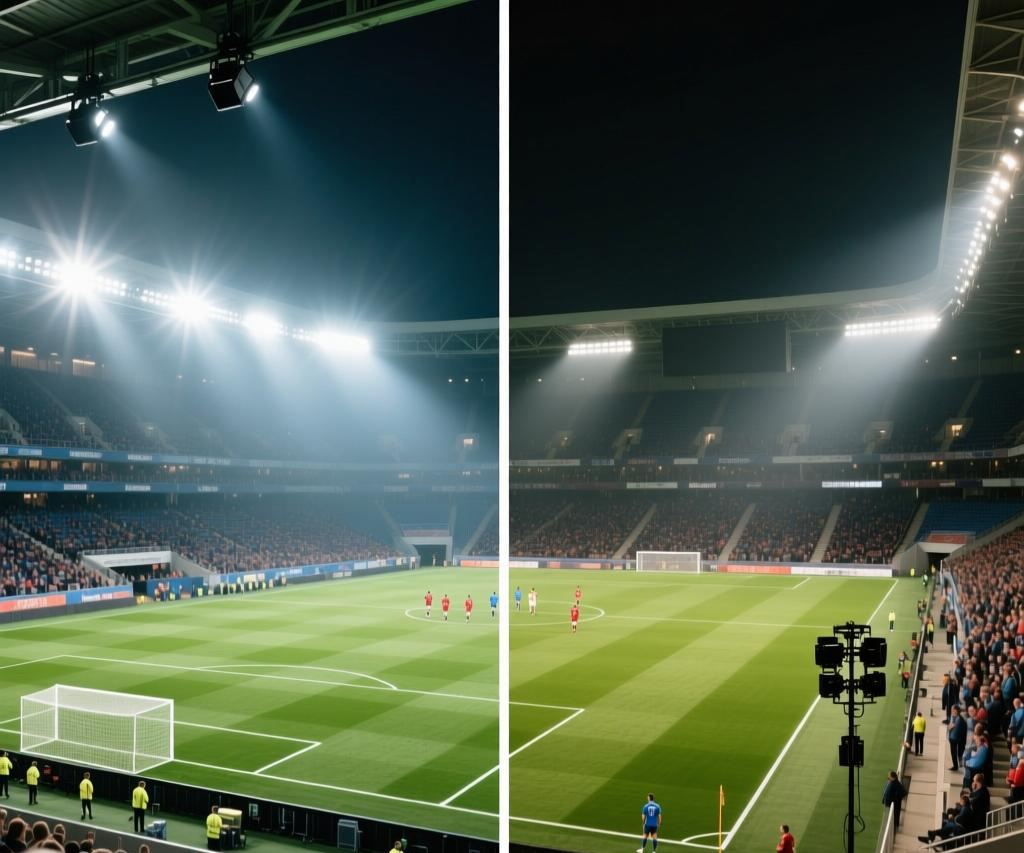
4. The Role of Mounting Height
Mounting height changes glare characteristics dramatically.
- Low poles: higher risk of direct view glare.
- High poles: reduced direct glare but increased high-angle intensity risk.
This is why pole height decisions must be coordinated with optics and shielding strategy.
5. Optics: The Primary Glare Control Tool
Optics determine how light leaves the luminaire. In professional stadium lighting:
- Asymmetric optics push light forward and downward.
- High-angle intensity is strictly limited.
- Different beam angles are mixed across the system.
6. Visors and Shields: Secondary but Essential
Visors do not fix bad optics, but they significantly improve comfort when used correctly.
- Shield the brightest LED zones.
- Reduce direct line-of-sight exposure.
- Help meet spill-light regulations.
Overusing visors to compensate for poor optics, however, often leads to reduced uniformity.
7. Aiming Discipline: Where Many Projects Fail
Even the best luminaire will create glare if aimed incorrectly.
- Excessive upward tilt.
- Ignoring manufacturer aiming guides.
- No post-installation verification.
8. Glare and Broadcast Cameras
Cameras amplify glare issues:
- High-angle glare washes out contrast.
- Reflections create flare artifacts.
- Inconsistent glare affects color balance.
This is why broadcast venues apply stricter glare limits than training fields.
9. Common Glare Mistakes (Seen in Real Projects)
- Chasing higher lux without optics review.
- Using one beam angle for the entire stadium.
- Ignoring goalkeeper viewpoints.
- Over-tilting luminaires to cover dark spots.
- No glare review after installation.
10. Verification and Commissioning
Professional projects verify glare through:
- On-site aiming checks.
- Player and referee feedback.
- Camera test recordings.
11. Glare Control Checklist
- Confirm mounting height and pole layout.
- Select optics with controlled high-angle intensity.
- Apply visors only where necessary.
- Limit upward tilt angles.
- Verify glare from all critical viewpoints.
12. Summary
Effective glare control is the difference between “bright enough” and “professionally usable” stadium lighting. It protects players, improves performance, and enhances spectator and broadcast experience.