Understanding the Science Behind Sports Lighting Angles
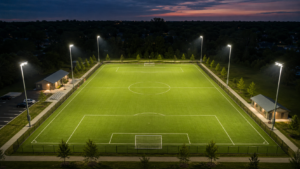
Proper installation angles for sports lighting are crucial for achieving optimal visibility, minimizing glare, and ensuring player and spectator safety. Whether you’re illuminating a football field, tennis court, or basketball arena, the angle of your lights can make or break the viewing experience.
Why Installation Angles Matter
Glare Reduction: Incorrect angles can cause blinding glare for players and spectators.
Uniformity: Proper angles ensure even light distribution across the playing surface.
Energy Efficiency: Correctly angled lights maximize light output while reducing wasted energy.
Key Principles for Optimal Lighting Angles
1. Beam Angle vs. Mounting Angle
Beam Angle: The spread of light from the fixture (e.g., narrow, medium, wide).
Mounting Angle: The tilt and direction of the fixture relative to the playing surface.
2. Recommended Angles for Common Sports
| Sport | Recommended Mounting Angle | Beam Angle Type |
|---|---|---|
| Football/Soccer | 25°–30° | Wide |
| Tennis | 20°–25° | Medium |
| Basketball | 15°–20° | Narrow |
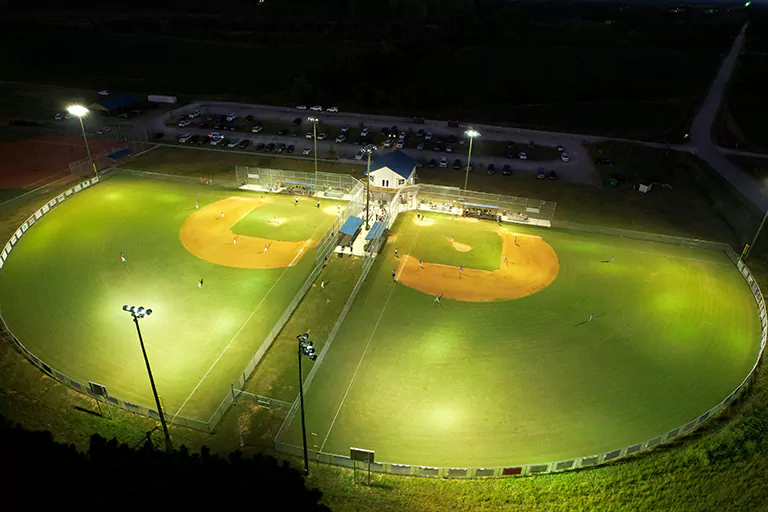
| Baseball | 30°–35° | Wide |
3. Height and Spacing Considerations
Mounting Height: Higher poles allow for shallower angles and reduce glare.
Fixture Spacing: Closer spacing improves uniformity but may increase costs.
Common Installation Mistakes to Avoid
Over-Tilting Fixtures: Causes uneven “hot spots” and shadows.
Ignoring Surroundings: Light spill into nearby areas can be a nuisance.
Using Inconsistent Angles: Leads to patchy illumination.
Step-by-Step Installation Tips
Survey the Area: Note obstacles, viewer sightlines, and field dimensions.
Calculate Pole Height: Use the formula:
\text{Height} = \frac{\text{Field Width}}{2 \times \tan(\text{Angle})}Height=2×tan(Angle)Field WidthAngle Fixtures Precisely: Use a digital inclinometer for accuracy.
Test and Adjust: Conduct night tests and fine-tune angles as needed.