“We want good lighting, but we don’t need World Cup lighting.” This sentence appears in almost every sports lighting upgrade discussion — and it is a healthy mindset. The biggest risk in stadium projects is not under-spending; it is buying the wrong performance level: over-specifying a training field (wasting CAPEX and OPEX) or under-specifying a professional venue (creating glare, complaints, and rework).
This long-form guide explains how LED stadium lighting priorities change between training fields and professional venues. Instead of chasing lux numbers, we focus on real design decisions: horizontal vs vertical illuminance, uniformity, pole height, optics, glare control, controls, and ROI logic.
1. Start With the Real Use-Case (Not the Highest Standard)
Lighting standards are helpful, but they are not a substitute for a realistic usage definition. Before any lux target is selected, clarify four items:- Competition level: training only, amateur matches, professional league, or televised events.
- Operating schedule: nights per week, season length, and typical hours (e.g., 6–10 pm).
- Stakeholders: athletes, coaches, referees, spectators, neighbors, and camera teams.
- Site constraints: existing poles, nearby houses, roads, airport approach paths, or local light-spill limits.
2. Illuminance Targets: Lux Is the Entry Ticket, Not the Whole Story
Most buyers start by asking “How many lux do we need?” That’s reasonable — but lux should be treated as the minimum baseline, not the definition of quality. For training fields, horizontal illuminance (light on the pitch) often dominates. For professional venues, vertical illuminance (light on players and the ball from camera directions) quickly becomes the main cost driver.2.1 Practical Reference Ranges
| Use case | Horizontal illuminance (Eh) | Vertical illuminance (Ev) | Why it matters |
|---|---|---|---|
| Basic training | 200–300 lux | Not critical | Safety, ball control, basic visibility |
| Advanced training / amateur matches | 300–500 lux | 100–200 lux | Better tracking and facial visibility |
| Professional league | 800–1500 lux | 500–1000 lux | Spectator + camera consistency |
| Broadcast-ready | 1500–2500 lux | 1000–1500 lux | Multi-camera vertical performance |
2.2 The Classic Procurement Mistake
Some projects attempt to match old lamp wattage (e.g., replacing a 2000W metal halide with a 2000W LED). That is rarely correct. LED design should be driven by photometrics (IES/LDT), optics, aiming, and target performance — not watts.3. Uniformity: Comfort for Training, Precision for Professional Play
Uniformity influences perceived quality more than most stakeholders expect. Human eyes constantly adapt; strong bright/dark swings create fatigue, reduce contrast perception, and can make the ball “disappear” when moving across zones.- Training fields: Emin/Eavg around 0.5–0.6 is usually acceptable if glare is controlled and there are no extreme dark corners.
- Professional venues: tighter uniformity (often ≥ 0.7) is common, and uniformity must hold across both horizontal and vertical planes.
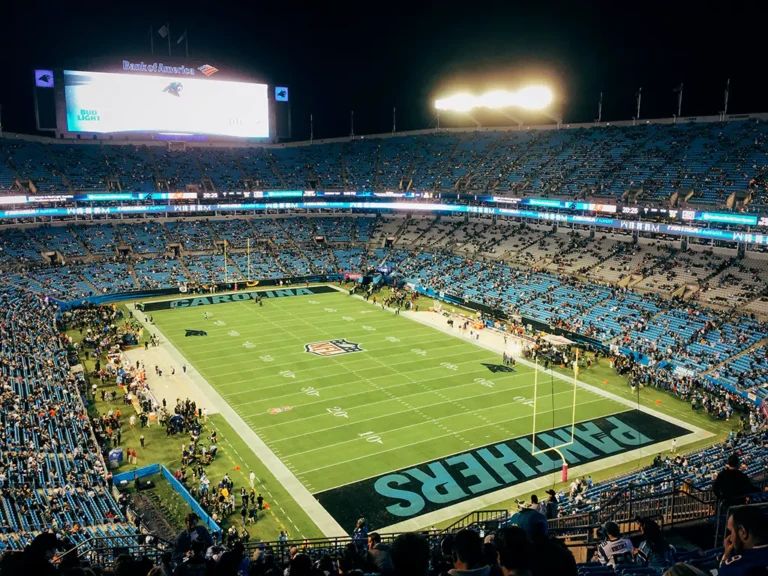
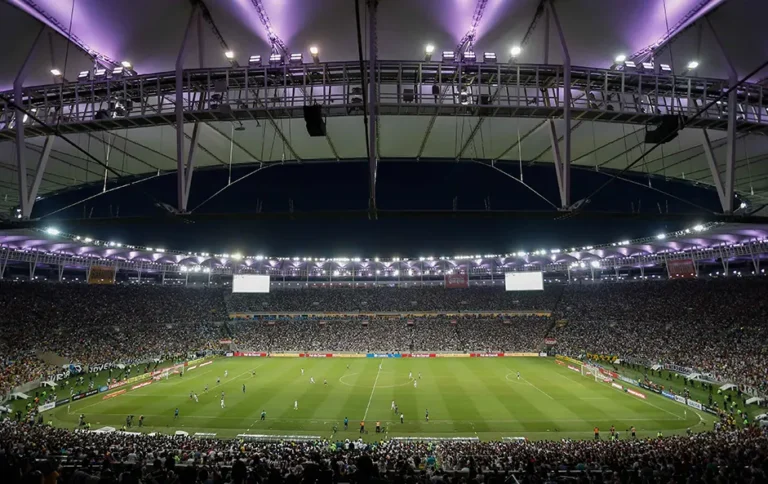
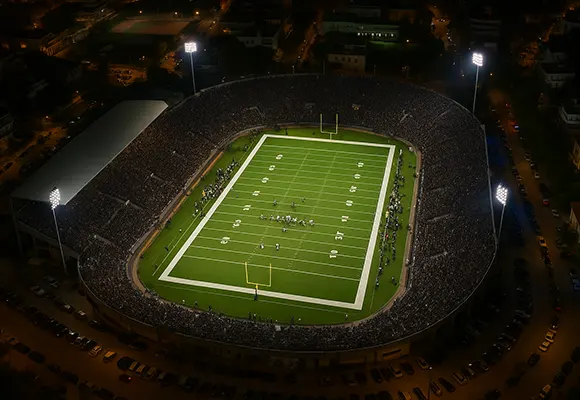
4. Vertical Illuminance: The Professional Divider
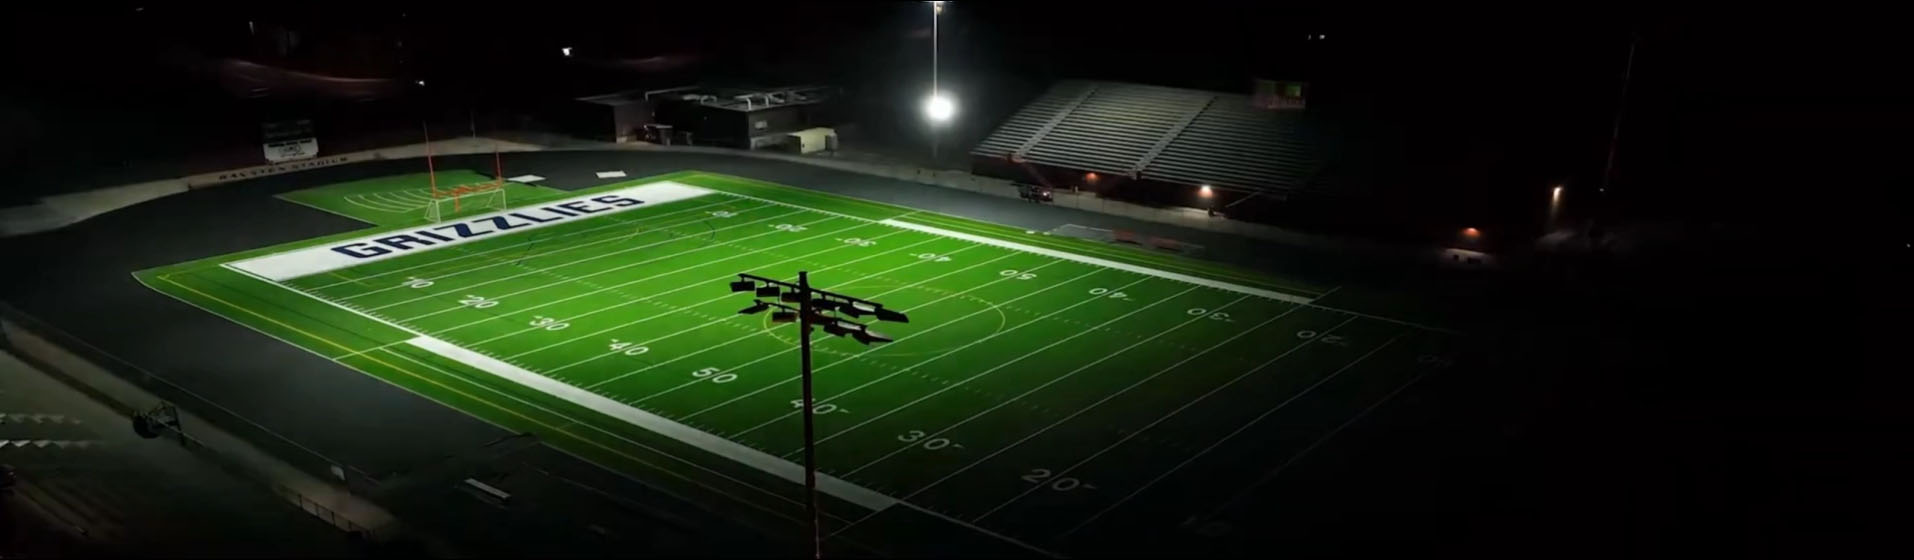
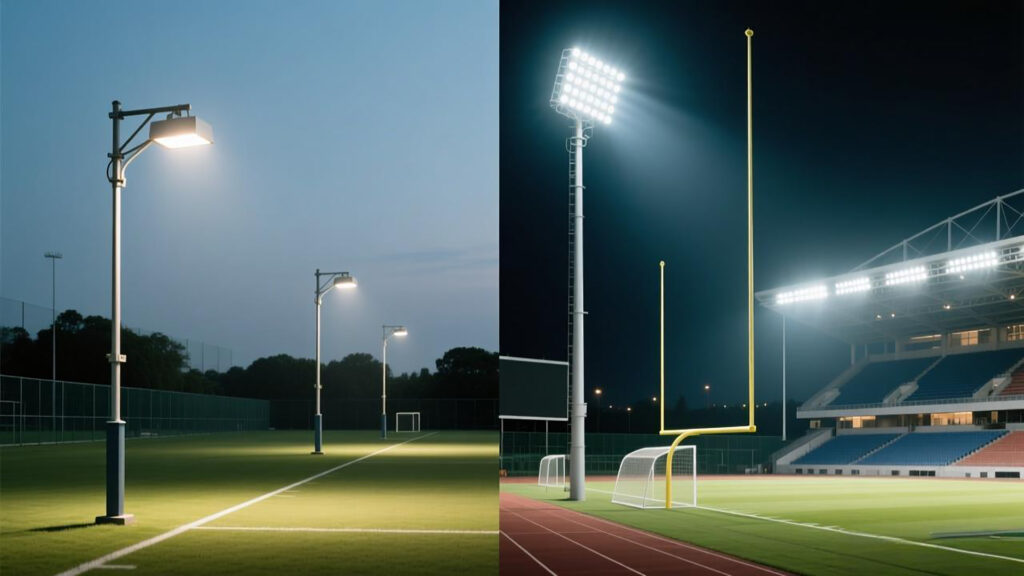
Vertical illuminance (Ev) measures lighting on a vertical plane — essentially how well you light players’ faces and the ball from key viewing directions. This matters for referees and spectators, but it becomes critical for multi-camera broadcasting.To build strong vertical illuminance, you typically need higher mounting positions (taller masts or roof locations), more luminaires distributed across multiple directions, optics that maintain useful intensity toward the field without creating glare, and disciplined aiming/commissioning.5. Pole Height & Layout: Why Training Fields Stay Lower
Pole height is one of the most expensive decisions to change later. The same luminaire behaves very differently at 12 m versus 35 m. In general, training fields can succeed with lower masts because performance targets are lower and camera demands are minimal.| Field type | Common pole height | Common layout | Typical design approach |
|---|---|---|---|
| Training pitch | 12–18 m | 4–6 poles | Simpler aiming, wider optics acceptable |
| Professional venue | 25–45 m / roof | 6–8 poles / roof rows | Mixed optics + multi-direction vertical strategy |
6. Optics & Beam Angles: Training Needs Simplicity, Professional Needs Mixing
Optics selection is where “a light” becomes “a lighting system.” Training fields usually aim for reliable coverage with minimal spill. Professional venues must control glare, spill, and vertical lighting — typically requiring a mix of beam angles.- Lower masts (12–18 m): 30°–60° optics often work well; near-field coverage is a bigger portion of the pitch.
- Higher masts (25–45 m): 10°–30° optics become more important; long throws and controlled intensity are needed.
- Mixed optics: narrow beams for central zones, medium beams for mid-field, controlled wide beams for near-field/touchlines.
7. Glare Control: The “Quality Feeling” of the Project
Glare is where many projects fail, especially upgrades that focus only on lumens. Glare shows up as discomfort for players (especially goalkeepers), reduced contrast perception, spectator complaints, and washed-out camera images.
- Training fields: practical glare control = correct aiming + reasonable optics + no excessive tilt.
- Professional venues: glare control becomes multi-stakeholder. Visors/shields and strict high-angle intensity control are common.
Professional designs should check critical viewpoints: goalkeeper lines, touchlines, main stand sightlines, and camera directions. Good design does not “hide” glare by lowering lux; it controls glare by engineering distribution and limiting high-angle intensity.
8. Flicker, Driver Quality & Camera Compatibility
For training fields, flicker is rarely visible to the human eye, and many projects succeed with standard drivers. Once you introduce broadcasting — even basic streaming with higher shutter speeds — driver quality becomes a selection criterion.
Professional venues often require very low flicker and stable output under different dimming modes. This is not only about the driver; it is also about system integration and commissioning.
9. Controls & Operating Modes: The Smart Way to Bridge Levels
Controls let owners get flexibility without overbuilding. A practical three-mode strategy:- Training mode: 40–70% output, optimized for comfort and energy saving.
- Match mode: full output on the pitch, tuned for uniformity.
- Event/broadcast mode: enhanced vertical strategy + tighter consistency for cameras.
10. CAPEX vs OPEX: Where ROI Actually Comes From
LED upgrades deliver value through energy savings (especially with dimming schedules), reduced maintenance, fewer downtime events, and higher booking potential due to better night-time user experience.
The most common ROI mistake is paying for broadcast-grade parameters that will never be used. The second mistake is buying a low-cost system that triggers glare complaints and rework. The best solution is usually the right-fit performance level plus an upgrade path.
11. Tender / Procurement Checklist (Copy-Paste Ready)
- Define target Eh, Ev (if needed), and uniformity ratio.
- Ask for photometric files (IES/LDT) and a calculation report for your layout.
- Specify glare expectations (visors, high-angle limits, tilt restrictions).
- Specify driver/control requirements (dimming, zones, scheduling, flicker expectations).
- Confirm environmental ratings (IP, corrosion resistance) for your climate.
- Confirm installation details: brackets, aiming marks, access and maintenance plan.
- Request reference projects with similar pole height and field size.
12. Summary
Training fields win with value: good uniformity, controlled glare, reliable output, and smart energy use. Professional venues add vertical illuminance, camera consistency, and stricter glare control — which demand higher mounting positions, mixed optics, and more engineering discipline.
If you want, ZC Lighting can help you confirm the appropriate performance level, run a simulation based on your pole layout, and propose a balanced LED system designed for long-term value.