Across the world, cities, industrial parks and commercial sites are replacing high-pressure sodium (HPS) and metal halide street lights with LED luminaires. The reasons are clear: lower energy consumption, better visibility, reduced maintenance and improved control options.
However, a successful retrofit is more than just swapping one light source for another. To fully realize the benefits, planners must look at optics, pole spacing, light levels, color quality and control strategies. This guide provides a structured approach to upgrading street and area lighting from HPS to LED using modern road luminaires and shoebox/area lights.
1. Define the Scope of Your Retrofit
Before choosing products, clarify what types of installations are included:
- Main roads and urban arterials.
- Residential streets and local roads.
- Parking lots and commercial plazas.
- Industrial yard areas and access roads.
Each category has different lighting classes and risk profiles, which will influence target light levels and luminaire selection.
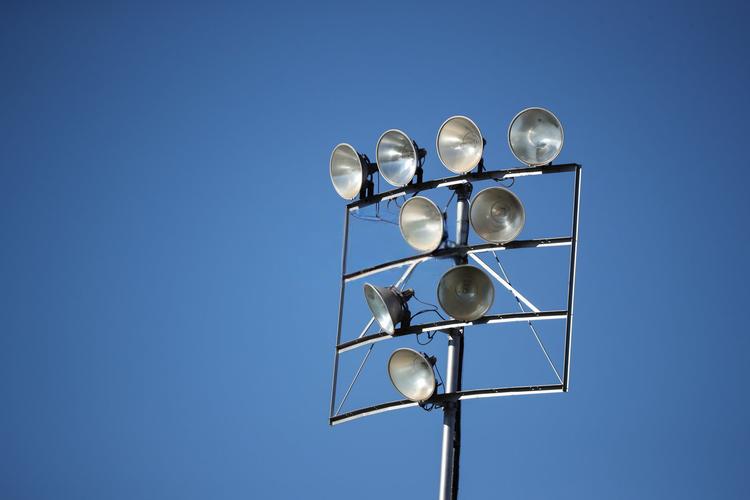
2. Understand Current Installations and Pain Points
A thorough survey of existing HPS systems will reveal both technical and operational issues:2.1 Inventory and Measurements
- Record lamp wattage, luminaire type, mounting height and arm outreach.
- Map pole spacing and arrangement on each road type.
- Measure or estimate current illuminance and uniformity in representative streets and parking areas.
2.2 Typical Complaints and Risks
Common pain points with older HPS systems include:- Yellowish light making it hard to distinguish colors.
- Dark patches between poles or at pedestrian crossings.
- High maintenance costs due to lamp and ballast failures.
- Light pollution and spill light into homes or sky glow.
3. Set Clear Lighting Objectives for LED
Based on the survey, define your objectives for the retrofit. Typical goals might include:- Reducing energy consumption by 40–70% compared to HPS.
- Improving uniformity on road surfaces and sidewalks.
- Enhancing visibility at conflict points (intersections, crossings, entrances).
- Reducing spill light and unwanted brightness in residential windows.
- Introducing dimming or smart control capabilities where useful.
4. Selecting LED Street and Area Luminaires
Modern LED street lights and area/shoebox luminaires offer many options beyond simple wattage. Key selection criteria include optics, efficacy, mechanical design and accessories.
4.1 Optics and Road Lighting Classes
Road lighting optics are typically optimized for different road configurations: single carriageway, dual carriageway, one-sided or two-sided pole placement, and central median mounting.
When choosing optics, consider:
- Mounting height vs road width.
- Pole spacing and offset from the curb.
- Desired illuminance on road lanes and sidewalks.
- Need to limit light on adjacent properties.
4.2 Lumen Packages and Power Levels
Rather than matching HPS wattage directly, LED retrofits should be based on lumen output and optic performance. For example:
- 70–100 W HPS on local streets may be replaced by 30–60 W LED luminaires.
- 150–250 W HPS on main roads may be replaced by 60–120 W LED luminaires.
- 250–400 W HPS in large parking lots may be replaced by 100–200 W LED area lights.
Using photometric files and lighting software helps fine-tune these choices for each project.
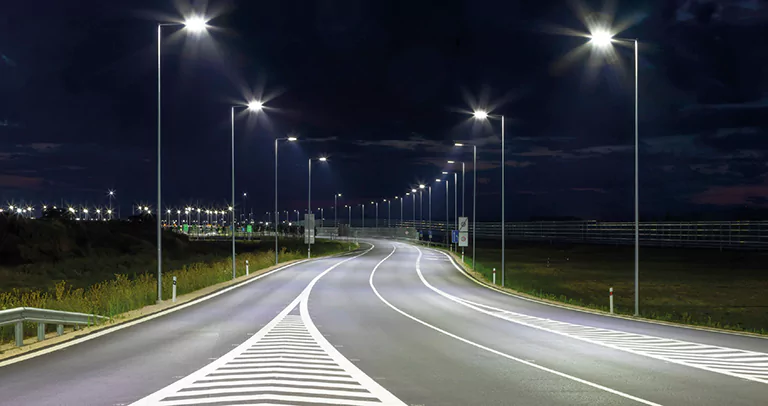
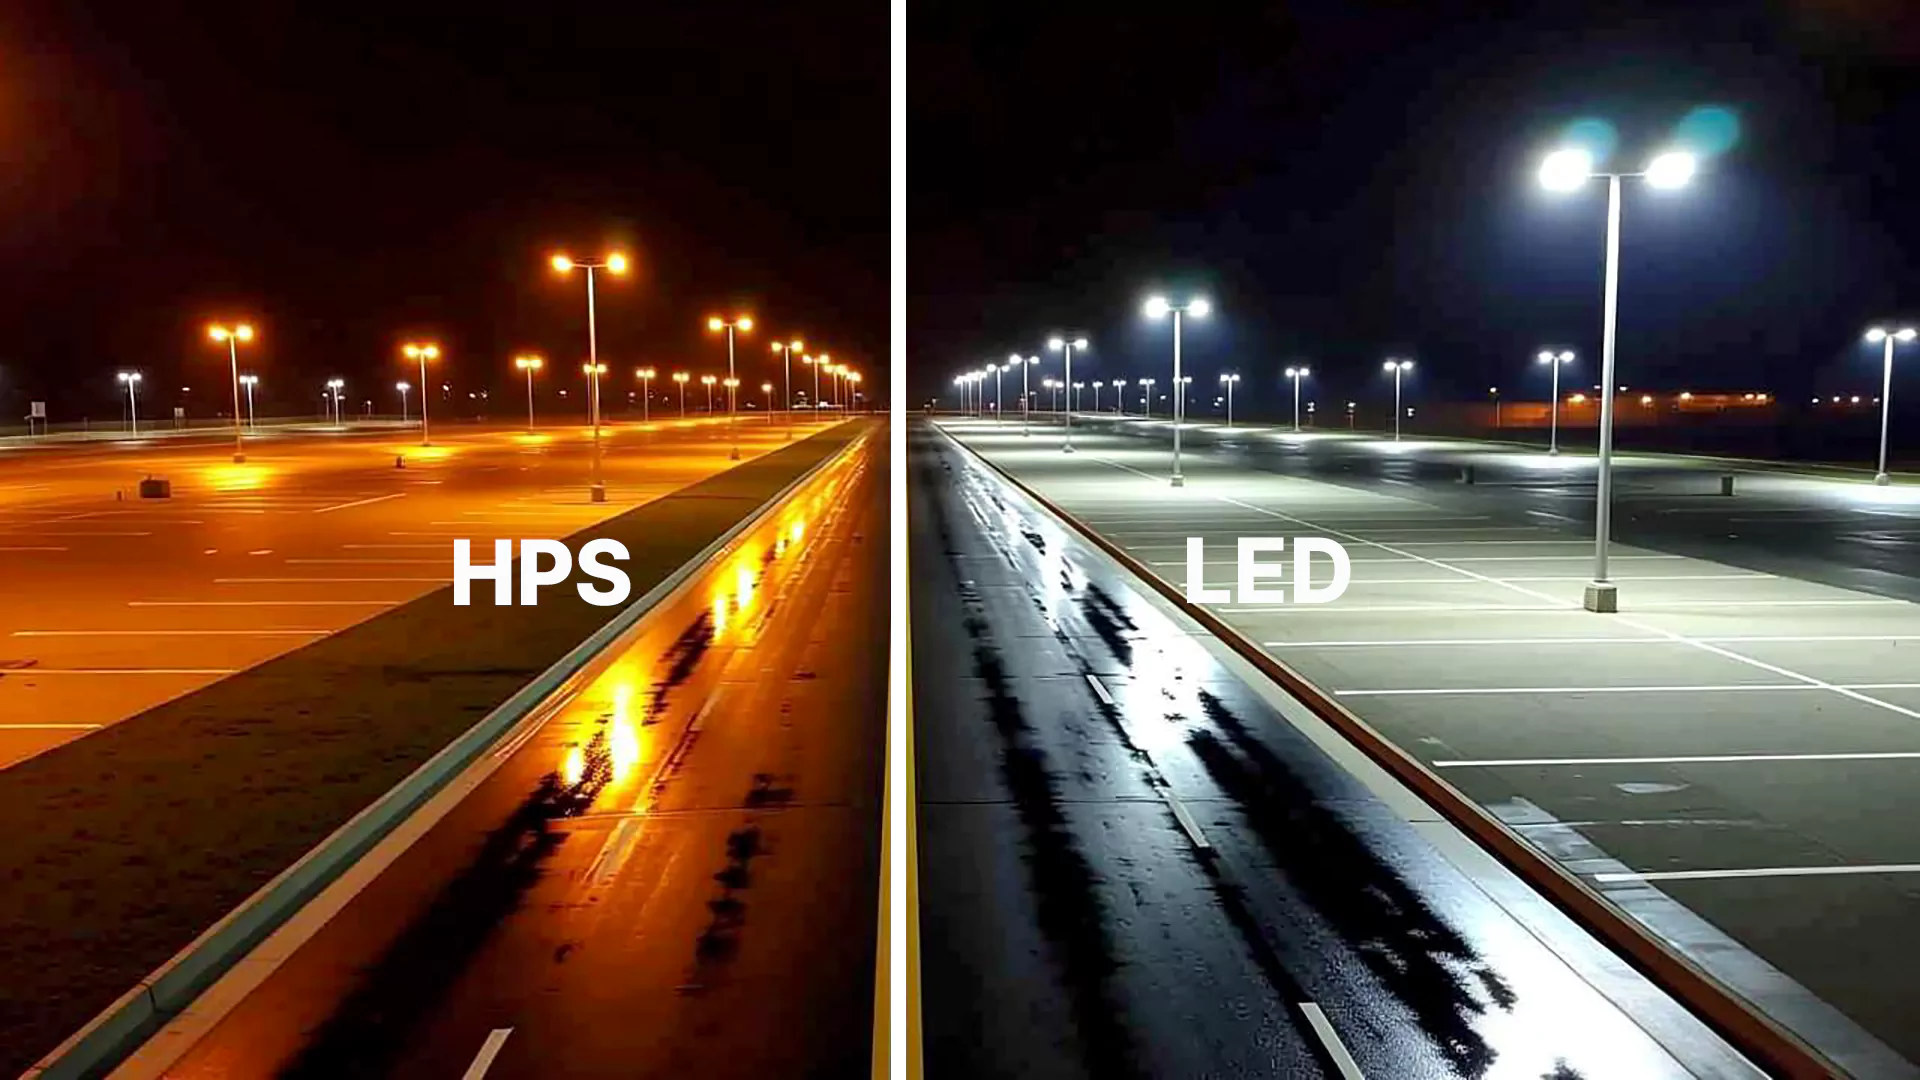
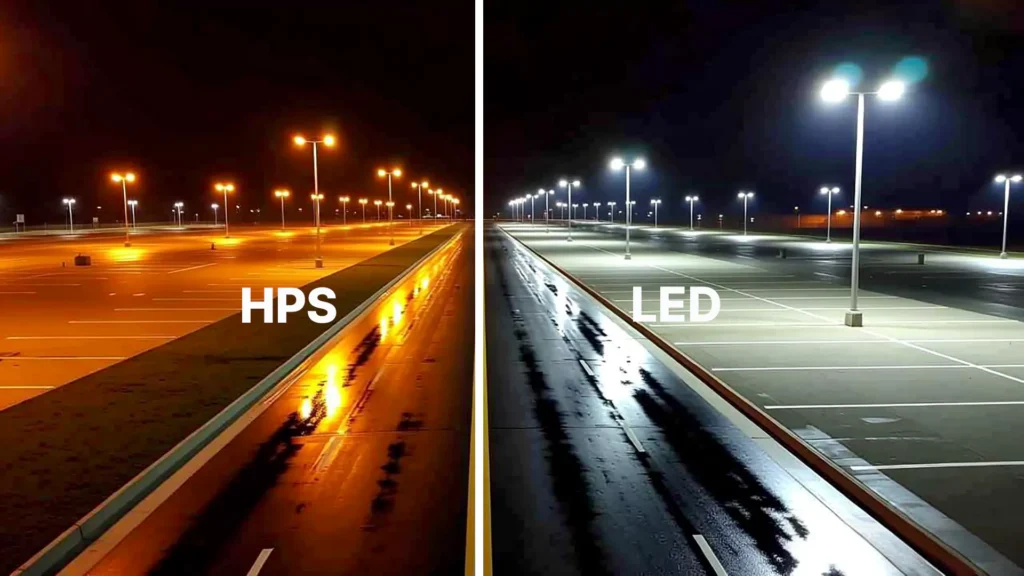
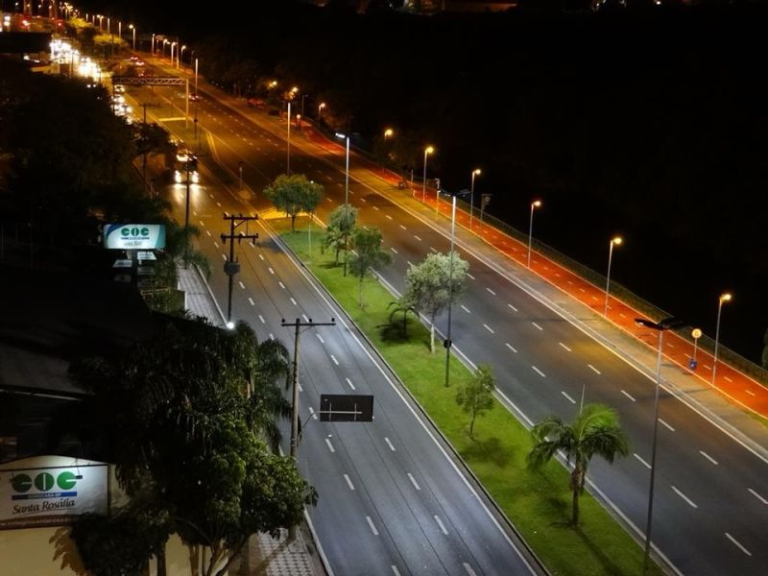
5. Color Temperature, CRI and Visual Comfort
One of the most visible changes from HPS to LED is color appearance. HPS produces a very warm, orange-yellow light with low color rendering. LED allows more neutral or cool whites with much higher CRI.
5.1 Choosing CCT
Common choices for outdoor LED include:
- 3000 K: warmer white, preferred in residential or historic areas for a softer appearance.
- 4000 K: neutral white, widely used for urban streets and parking areas.
- 5000 K: cooler white, sometimes used for industrial yards or areas requiring high contrast.
Many cities now choose 3000–4000 K as a balance between visibility and environmental/health considerations.
5.2 Color Rendering
LED street lights typically offer CRI ≥ 70 or ≥ 80. Higher CRI makes it easier for drivers and pedestrians to recognize objects, clothing colors, and signage at night, improving perceived safety.
6. Controlling Glare and Light Spill
While LED luminaires can produce very precise distributions, poor design or aiming can still create glare and unwanted spill light.To manage this:- Select luminaires with well-designed optics and glare control features.
- Pay attention to mounting tilt angles; avoid excessive upward tilt.
- Use house-side shields or baffles where roadways border sensitive areas.
- Validate designs using vertical illuminance maps at façade locations if possible.
7. Controls, Dimming and Smart City Integration
One of the biggest advantages of LED is controllability. Even simple dimming profiles can deliver significant additional savings and reduce light pollution.7.1 Basic Dimming Profiles
Common strategies include:- Higher levels at peak traffic times, lower levels late at night.
- Different dimming schedules for weekdays vs weekends.
- Adaptive dimming based on seasonal sunrise and sunset times.
7.2 Smart Controls and Sensors
More advanced systems may incorporate:- Wireless control nodes on each luminaire.
- Fault and energy monitoring dashboards.
- Integration with traffic or environmental sensors.
8. Implementation Planning and Phasing
A structured implementation plan minimizes disruption and maximizes early savings:- Pilot projects: retrofit selected streets or parking lots to validate product choices and public feedback.
- Priority zones: start with areas with the highest energy use or safety concerns.
- Standardization: define a limited set of luminaire models and optics to simplify stock and maintenance.
- Communication: inform residents and businesses about the changes and benefits to build acceptance.
9. Evaluating Success After the Retrofit
After installation, it is important to verify that the project meets its technical and qualitative goals:- Measure illuminance and uniformity in representative zones.
- Check glare and spill light at sensitive locations.
- Compare energy consumption before and after the retrofit.
- Gather feedback from road users, residents and maintenance teams.