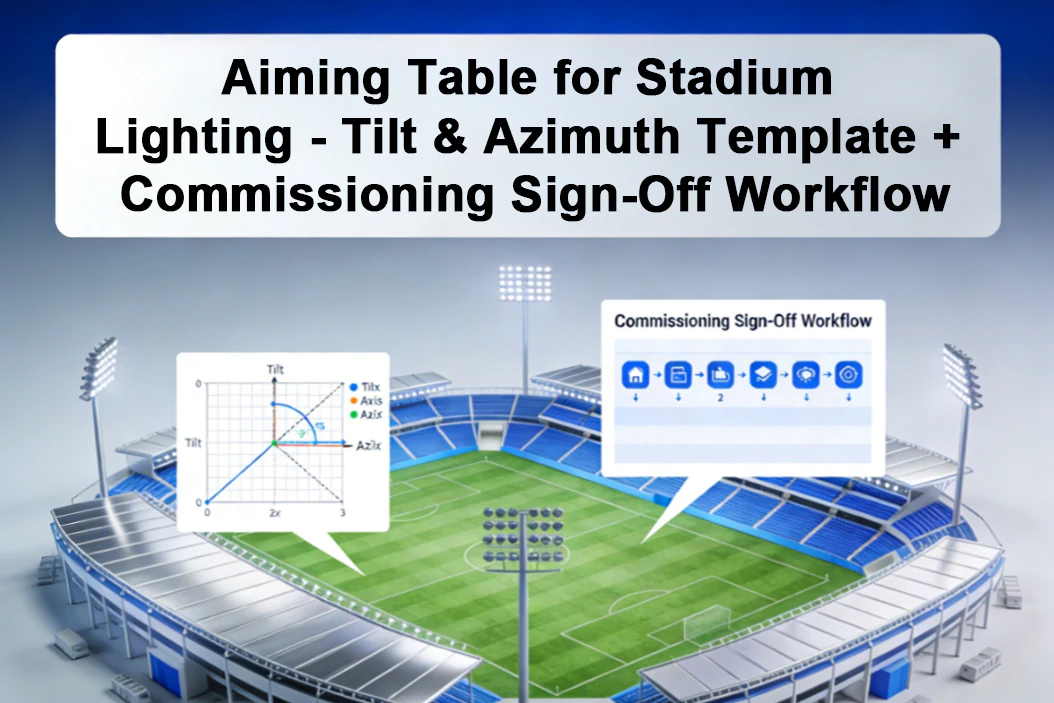
Stop losing time in ‘aim again’ loops. Use a structured aiming table (tilt/azimuth per fixture), record as-built angles, and verify with a repeatable sign-off workflow.
Verify performance with a defined on-site grid and sign-off checklist—then lock the as-built pack for lifecycle maintenance.
- Key takeaway #1: Aiming without IDs creates rework; IDs + references make errors fixable fast.
- Key takeaway #2: Record as-built tilt/azimuth and deviation reasons to prevent disputes.
- Key takeaway #3: Add a re-check plan after settling to reduce long-term re-aiming cost.
Table of contents
When this applies
Use this guide when your project includes multiple poles, large arrays, or broadcast requirements—any situation where aiming accuracy determines uniformity, glare, and sign-off speed.
- New installations: repeatable aiming across teams.
- Retrofits on existing poles: offsets and legacy headframes increase errors.
- Broadcast venues: small aiming drift can fail uniformity.
- Multi-scene controls: match/training scenes rely on consistent aiming.
Key requirements / metrics
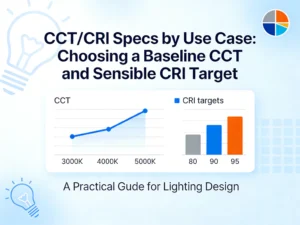
Use this metrics table as a definition of what “good aiming documentation” means at sign-off.
| Aiming element | What it controls | Why it matters | How to document |
|---|---|---|---|
| Fixture ID & location | Traceability. | Without IDs, errors can’t be corrected efficiently. | Unique ID per fixture + pole position + photo reference. |
| Tilt angle | Main beam direction. | Controls glare and peak intensity landing. | Design tilt + as-built tilt recorded. |
| Azimuth angle | Left-right aiming. | Critical for width uniformity. | Reference direction + as-built azimuth. |
| Aiming reference | Repeatability. | Crews interpret “aim to center” differently. | Define aiming point reference on plan. |
| Deviation notes | Change control. | Explains differences and prevents disputes. | Record reason + approval + actions. |
Definitions
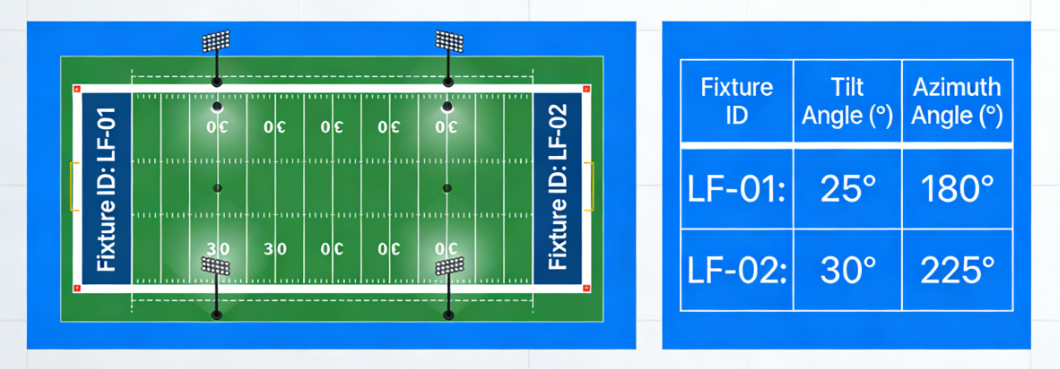
An aiming table assigns each luminaire a unique ID and defines its design tilt and design azimuth, plus an as-built record to make commissioning auditable.
Typical target ranges
Good aiming packages share the same intent:
- Consistent references: one azimuth reference across the site.
- As-built recording: every fixture gets an as-built angle and photo ref.
- Re-check plan: one follow-up inspection after settling.
Step-by-step workflow
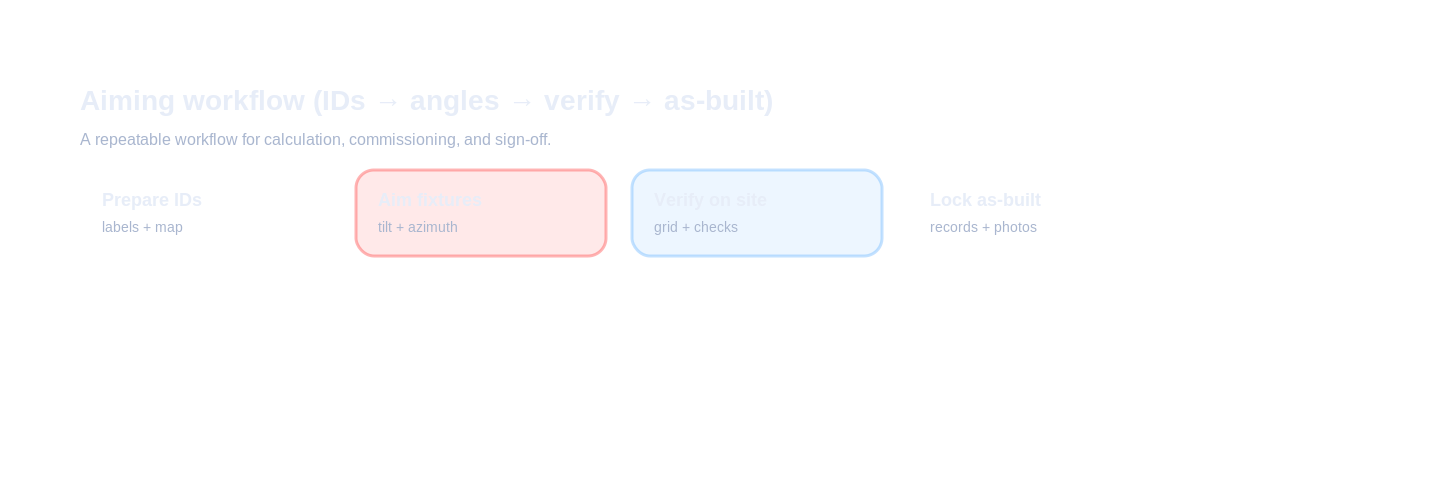
Commission aiming by workflow: prepare aiming table → label fixtures → aim by reference → verify on field → lock as-built records.
Inputs to collect
- Pole layout & heights: as-built coordinates and mounting heights.
- Fixture ID plan: ID scheme and label method.
- Design angles: tilt/azimuth and aiming points.
- Verification plan: measurement grid and acceptance criteria.
Design decisions
- Define azimuth reference.
- Lock fixture ID scheme.
- Define aiming points.
- Define re-check rhythm.
Verification & sign-off
- As-built aiming table delivered.
- Photo evidence.
- Sign-off checklist.
Common mistakes
- No fixture IDs.
- Unclear azimuth reference.
- No as-built recording.
- Ignoring bracket offsets.
- No re-check plan.