
Use a visor only when the project can name the direction it needs to protect
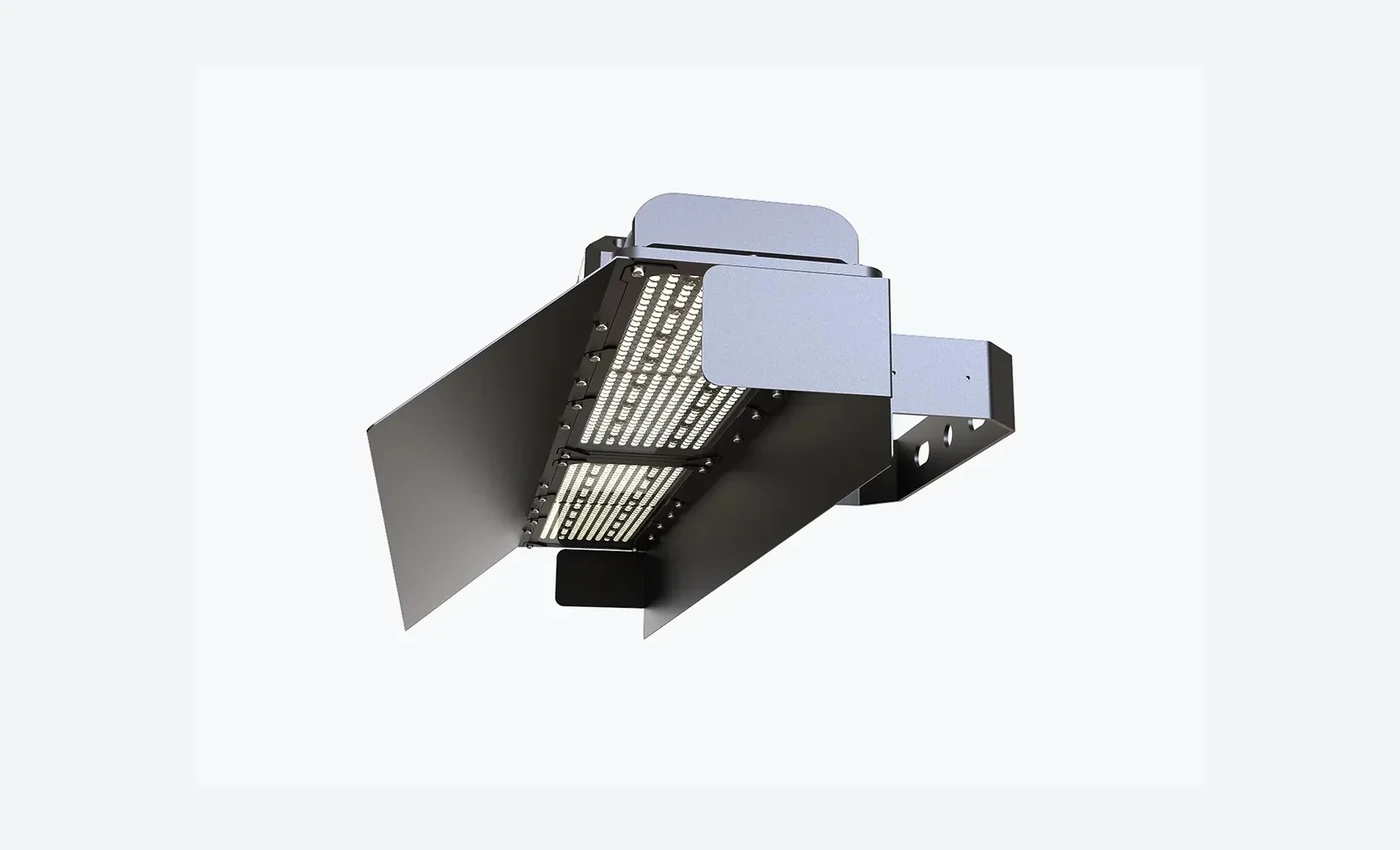
A visor is a directional accessory. It works by intercepting or screening light that would otherwise leave the luminaire toward a selected region of space. That makes it most useful when the project has a defined receptor: a residential window, a road approach, a spectator line of sight, an upper viewing angle, or a boundary where the design is struggling to keep unwanted light under control.
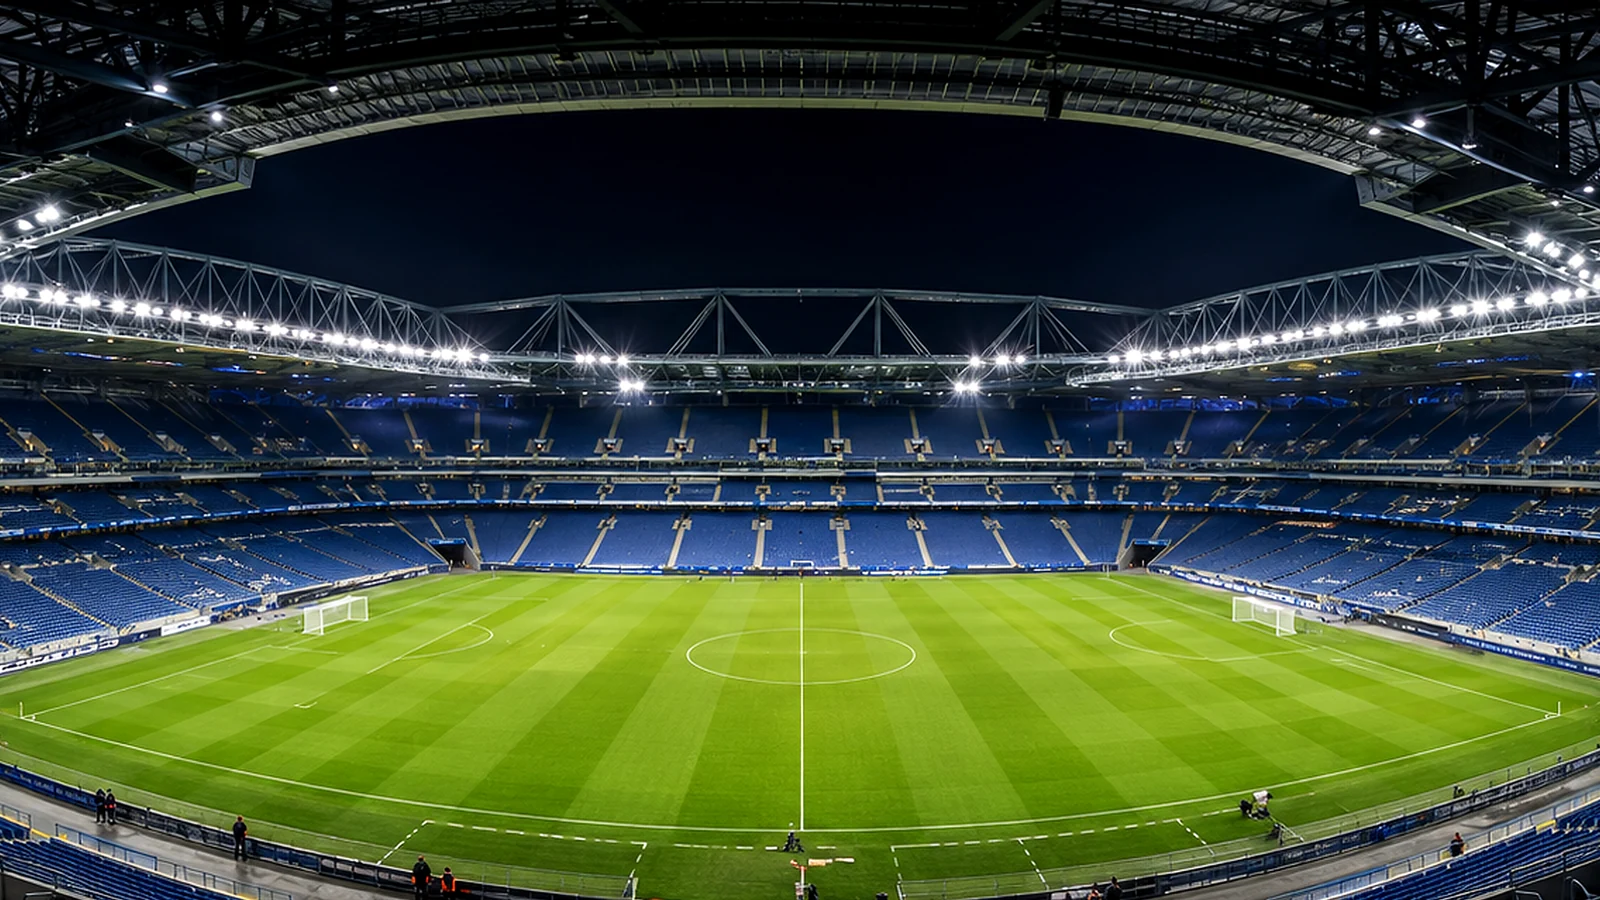
This is deliberately narrower than ZC Lighting’s broader articles on glare control and residential spill. Those explain the system problem. This article focuses on the accessory decision itself: when a visor is justified, when it is unnecessary, and when it is being used to hide a more fundamental design problem.
What a visor can do—and what it cannot repair
Selective screening
Reduce direct source visibility or high-angle emission toward a defined direction, especially where a small residual problem remains after optic and aiming optimization.
Backlight / side-light control
Depending on visor geometry and mounting orientation, screening can help reduce light leaving the intended field side toward adjacent receptors.
Wrong beam choice
If the optic sends too much intensity into the wrong angular region, blocking that light with a visor may waste output instead of solving the root cause.
Bad pole or aiming geometry
Excessive tilt, poor setbacks or a weak pole layout can create repeated glare and spill problems that a visor cannot solve efficiently.
CIE 150 emphasizes controlling obtrusive effects through appropriate design from the beginning. The same logic applies here: shielding is strongest when it refines a sound design, not when it compensates for one.
Five situations where a visor review is reasonable
| Trigger | Why review a visor? | What must still be checked? |
|---|---|---|
| Nearby homes or upper-floor windows | A direct line of sight to bright emitting surfaces may remain from a specific direction. | Window / boundary criteria, aiming, useful-light loss, curfew mode. |
| Road users facing the pole group | Shielding may reduce selected direct-view exposure. | Road geometry, driver viewpoints, local requirements, field performance. |
| Low mounting heights near courts | Sources can sit closer to common sightlines, especially in community facilities. | Optic choice, pole setback, aiming, player views and court uniformity. |
| One problematic pole group | A local solution may be more efficient than changing every luminaire. | Whether the issue is truly local and whether asymmetric shielding changes balance. |
| Post-install residual issue | A visor may be one corrective option after installed aiming is verified. | Do not add shielding before confirming as-built angles and operating mode. |
The visor can remove unwanted light—and useful light at the same time
Every ray intercepted by a visor is removed from the delivered beam. Some of those rays may be undesirable; others may have been contributing to a far corner, a vertical target or the edge of the playing area. The practical consequence is simple: adding a visor can alter illuminance, uniformity and the number or output level of luminaires needed to meet the project target.
Unshielded photometry meets the field target but creates a receptor problem.
Shielded photometry must be recalculated to confirm both receptor control and field performance.
Do not assume the light loss is a fixed percentage. It depends on the luminaire, optic, visor geometry, aiming angle and the portion of the beam being intercepted.
A practical visor decision sequence
- Define the receptor. Identify the observer, boundary or angular region that must be protected.
- Verify the base design. Confirm pole coordinates, mounting heights, optic selection and aiming before adding accessories.
- Test optical and aiming alternatives. A better beam or lower tilt may solve the issue with less loss.
- Apply shielding only where it adds value. Avoid “visors everywhere” as a default visual specification.
- Recalculate the complete design. Review illuminance, uniformity, spill and other project criteria in the shielded configuration.
- Lock orientation for installation. A visor installed on the wrong side or angle can be ineffective or harmful.
- Verify on site. Check the installed aiming and critical observer positions after commissioning.
Link the accessory to the project requirement, not to a generic “low-glare” claim
Relevant ZC product pages
For projects where a visor or additional optical control is being considered, review the product-specific accessory and photometric information rather than assuming all shielding behaves the same.
Product parameters and accessory availability may change by model, configuration and market. Confirm the latest data sheet and project-specific photometry with ZC Lighting.
What should be documented when a visor is specified?
What viewpoint or boundary is being protected?
Which side / direction must the shield face?
Was the calculation based on the shielded configuration?
Are as-designed and as-built angles controlled?
Was uniformity and target illuminance rechecked?
Who confirms the residual issue is solved?
Frequently asked questions
Does every low-glare sports light need a visor?
No. Low-glare performance is a system result involving optics, pole geometry, aiming, source visibility and, where useful, shielding. A visor should solve a defined directional problem.
Can a visor fix excessive tilt?
It may screen part of the resulting high-angle output, but excessive tilt should first be reviewed as an aiming or geometry issue.
Can a visor be added after installation?
Yes, if the fixture supports it, but first verify the as-built aiming and identify the actual observer or boundary problem. Recalculate if the visor changes delivered light materially.
Should shielded photometry be used for final design?
Where the visor meaningfully changes the distribution, the design should represent the intended installed configuration.
Authoritative sources and related guidance
- CIE 150:2017 — Guide on the Limitation of the Effects of Obtrusive Light from Outdoor Lighting Installations, 2nd Edition
- Institution of Lighting Professionals — current guidance resources, including GN01/26 on the avoidance of obtrusive light
- DarkSky — Outdoor Sports Lighting guidelines
- FIFA Stadium Guidelines — Technical systems and services / floodlighting
Need a project-specific lighting review?
Send ZC Lighting the venue type, field dimensions, pole height and locations, target lighting criteria, nearby sensitive areas and any existing design files. The technical team can review suitable product configurations and photometric options for the project.
Request Project SupportView Product RangeFinal project requirements, local approvals and structural decisions remain subject to the responsible project parties and applicable regulations.